I worked with our intended recipient, the occupational therapy department at the local children's hospital where Amber has therapy, to define specifications for blankets that best meet the need of their patients. The five-pound blanket is the most needed through the hospital, and what they suggest for the majority of their pediatric sensory patients.
(As a side note, with her Ehlers Danlos Syndrome, Amber can't tolerate more than five pounds on her joints. She absolutely cannot sleep with her weighted blanket, although some sensory kids do.)
To date our sewing group of teens, which has expanded and meets several times a month, has donated 11 blankets and has another 10 blankets in various states of completion. We hope to finish 20 blankets over the summer, making our total 31 blankets in one year's time.
These instructions are only for the five-pound blanket, that are approximately 42 inches by 50 inches when finished.
Fabric:
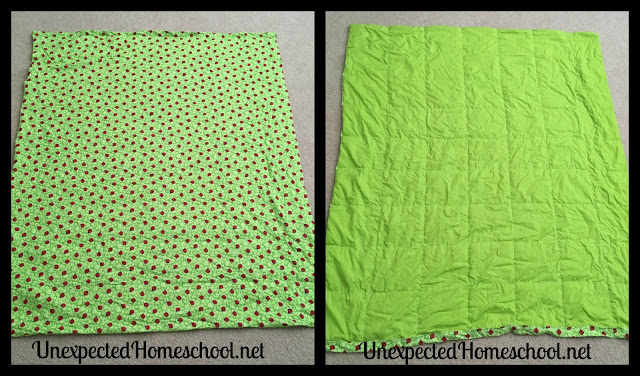
We make our blankets solid on one side and patterned on the other to help prevent sensory kids from being over stimulated by the patterned prints.
1.5 yards of 45" patterned cotton fabric
1.5 yards of 45" solid cotton fabric
Weights:
We use polybeads from Quality Plastic Pellets because they are safe for machine washing and drying.
To achieve the desired blanket weight, subtract the weight of the material from the final weight. This gives you the bead weight to be used. In our case we have found that our blankets, without beads, consistently weigh 17 or 18 ounces. Your results may vary depending on the fabric used. Since we are aiming for five pound blankets (5 X 16 oz = 80 oz per blanket) our calculation is:
80 oz - 18 oz = 62 oz or 80 oz - 17 oz = 63 oz.
We simplified the calculations for our blankets and use 63 ounces for all blankets because that works best with the number of rows and columns we use to create the pockets for the beads.
Sewing Instructions:
1. Match 1.5 yards of a patterned fabric with 1.5 yards of a coordinating solid fabric. Lay them out with right sides together and pin around three edges, leaving one of the short edges open.
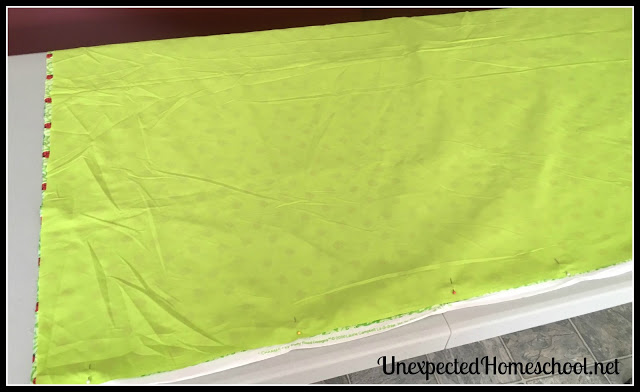 |
| Pinned and ready for sewing |
3. Turn the blanket right side out and press along the seams to make them nice and flat.
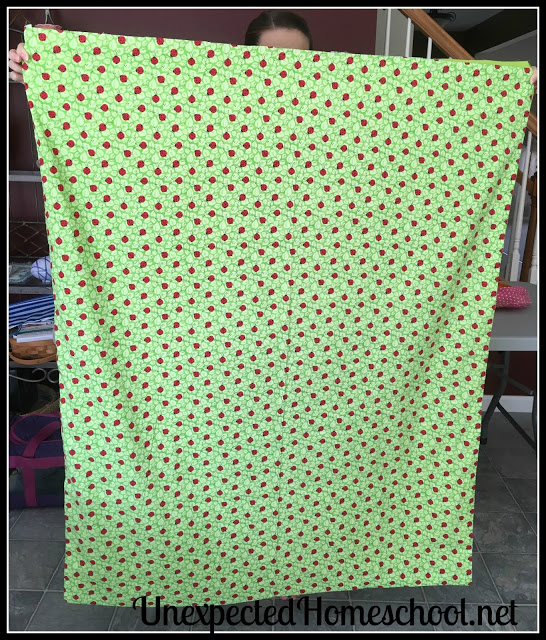 |
| Sewn and turned. |
We mark the columns and rows with WASHABLE Crayola markers. They truly do wash right out and are so much easier to use than fabric markers or tape. I use a yard stick and the washable markers to draw column and row lines on the SOLID side of each blanket.
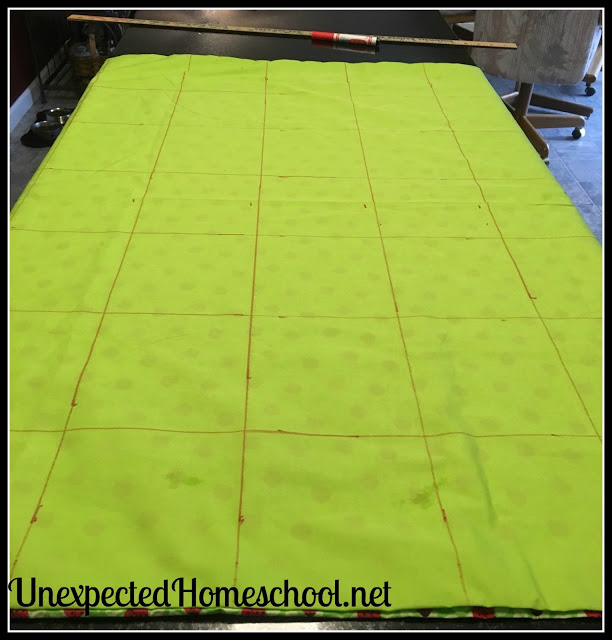 |
| Vertical and horizontal grid lines drawn. |
6. Add bead weights:
- We pre-measure an ounce of beads into bags or cups, but you can choose to measure beads as you go through this next step. Since we need 62 or 63 ounces of beads, and we just created a grid that will result in 63 pockets, we use 1 ounce of beads per pocket.
- Pour one ounce of beads into each of the 7 columns sewn in your blanket.
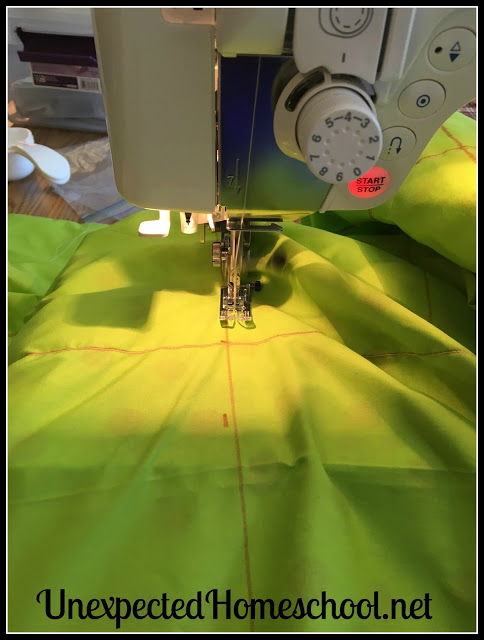 |
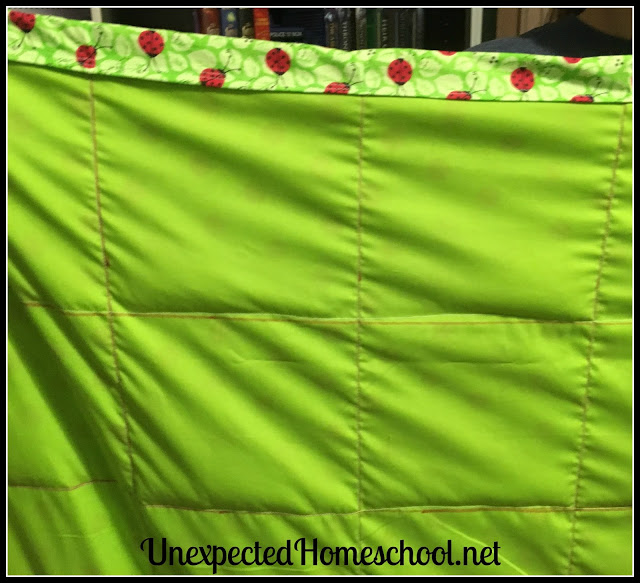
| Sewing rows with beads in. See the bump towards the left, up against the previous seam. Those are the beads for this row. |
7. Now you need to sew your first row seam.
- Ensure all the beads are as far down into each column as possible. You do not want to sew over the beads with your machine. It will bend or break a needle - trust me on this one.
- We have found the easiest way to deal with keeping the beads in the blanket and the excess material is the roll the top of the blanket down as far as we can to the row seam we need to sew.
- Sew across the drawn row seam.
8. Continue pouring one ounce of beads per column and then sewing across the row seams until you get to the last row.
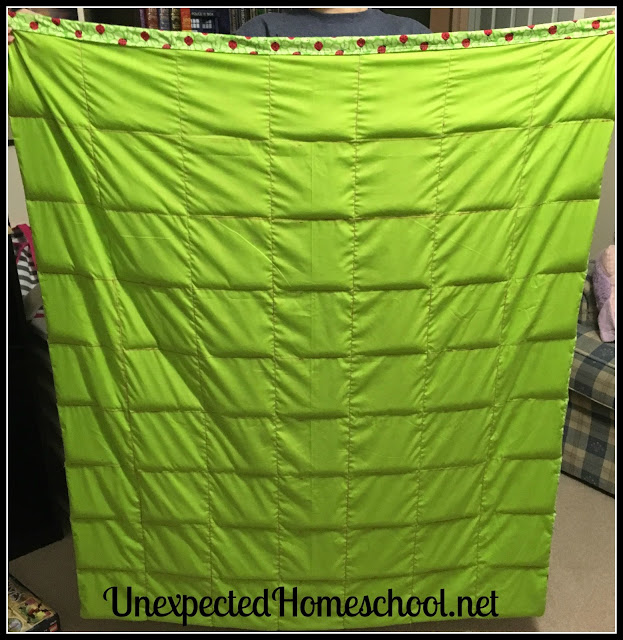 |
| With all rows and columns sewn. |
- Using fabric tape was okay, but expensive and took a lot of time for that last row.
- Sewing part of the row seam for each pocket then pouring in the beads was better than fabric tape, but left a rather small opening and meant a lot of start and stopping of the machine.
- In the end, we have found that it works best to just put the beads in a pocket and sew across the majority of that one. Then fill the next pocket and sew across it, all the while leaving the blanket in the machine.
10. Although you have sewn the last row, your blanket does not have a finished edge. We just double fold our unfinished edge and top-sew a seam.
11. Trim threads
12. Wash and dry blankets to remove marker lines. (See below for washing instructions).
Errata
These blankets are machine washable and dryable. However, I would take a few precautions to not damage your machines.
- I have a front load washer and dryer, but I can imagine blankets of this weight and design would cause a problem in any style washer or dryer.
- I wash on delicate cycle or hand wash cycle with NO SPIN. Yes, that's right, zero spin. I do not want my machine trying to spin with this and end up out of balance. So the blankets will be wet, but they would be just as wet hand washing.
- You can hang dry or dry the blanket flat, but it will take forever.
- I put the drying rack into my dryer (you know the one for shoes and such) and lay the blanket out on the rack. Then I dry it on high heat. It usually takes two cycles of the dryer to completely dry the blanket and I re-arrange the blanket on the rack between the cycles.
- I would not suggest trying to iron the blanket, it's just awkward with all of the beads.
Ideally, you would never lose beads from the blanket, still things happen. The pockets we created not only help distribute the weight evenly, but also protect from losing an entire blanket's worth of beads through a single small hole.
Always check for loose seams, especially if using with a young child. Mend any loose seams or holes that have worn in the fabric.

Hi Christy, thanks so much for this tutorial - I have been wanting to try to sew a weighted blanket for myself, and this seems do-able for me!! I am going for a heavier weight overall, so I will adjust the beads. I found the link on pinterest.
ReplyDeleteThank you for this! I made a weighted blanket about 8 years ago for a sensory child in my circle of friends. At that time the recommendation was, I believe, 10% of the child's weight. I did a twin sized version and used exactly this method. That child is still using that blanket. I'm so glad that we have found something to help these children. That same child also uses and really likes a very small lap blanket that I made as a prototype when I was figuring out how to make this (at that time we didn't have Pinterest!). It's the size of a fat quarter. It seems to help the little ones calm down quite a bit.
ReplyDeleteI also like to roll down the top after adding beads and have found that binder clips on each column give some extra security when sewing the rows.
ReplyDelete